How to Clean Keyboard yourself
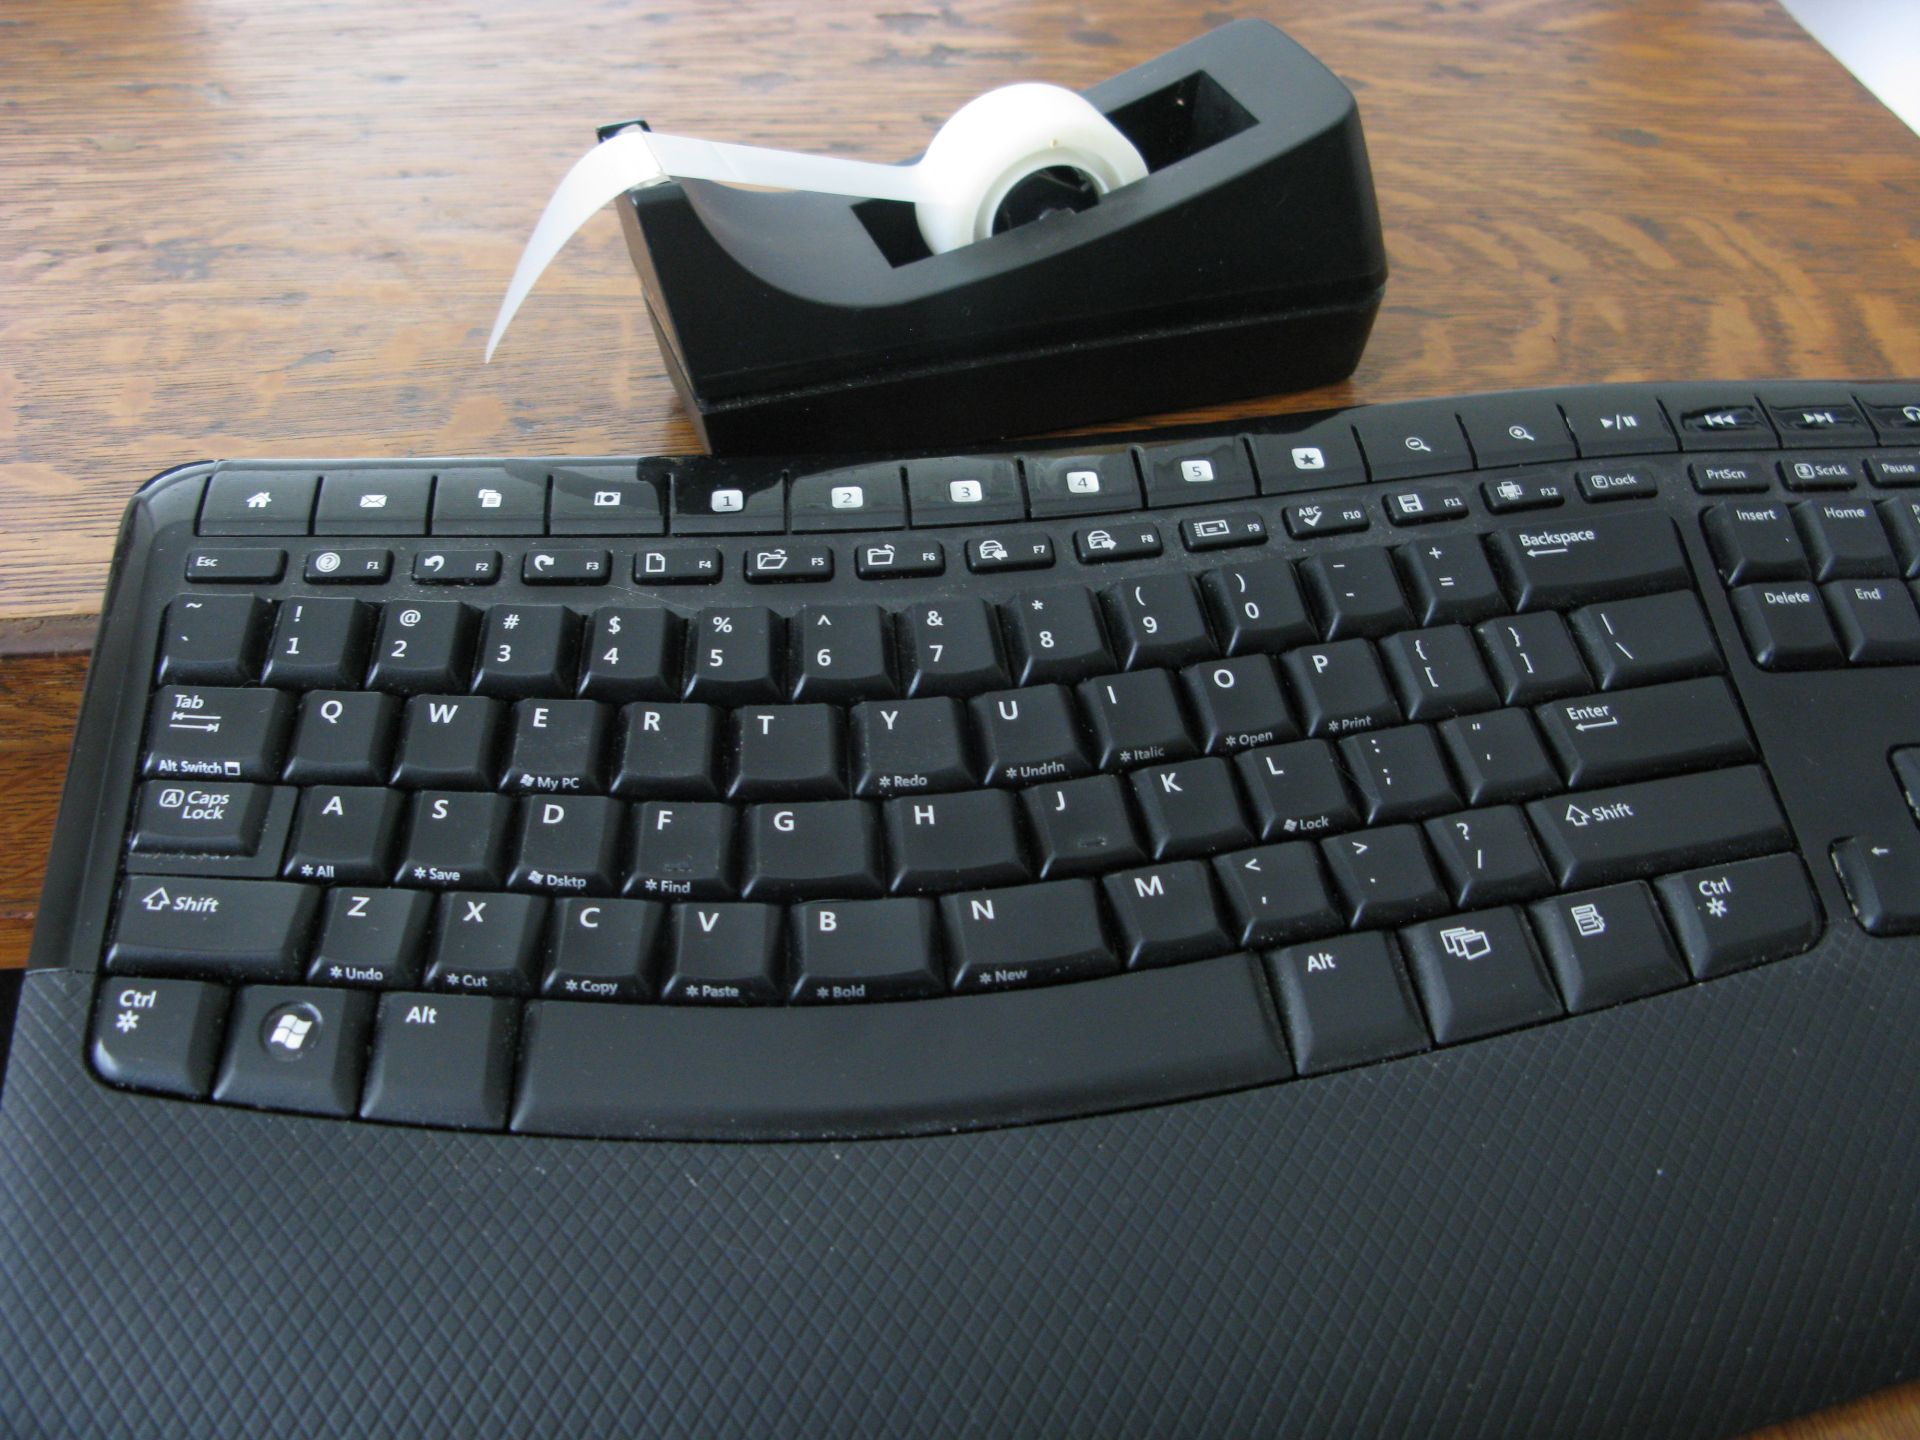
How to Clean Keyboard Yourself

Are you looking for the right way to clean keyboard yourself? Then relax! You have come to the right place. Our keyboards can catch dirt real fast. Primarily because of the way we use them. On top of that, we don’t bother to clean them off for months. The thought of cleaning the keyboard itself is anxiety-inducing sometimes. We understand! But once you get it done, the final output gives you immense satisfaction. For some people, it also works as a mental detox. So, stop looking for any external help and start cleaning the keyboard yourself.

We gather some short and quick guidelines about a lot of different ways through which you can clean your keyboard. And the best part is, you don’t need any external help to execute them. Yes! It’s possible. Meanwhile, you might need to get out of bed and get your hands on some products. The cleaning products aren’t that expensive and go a long way with you. Let’s bring it on!

User-friendly Techniques to Clean Keyboard Yourself

1. Cleaning keyboard- Upside Down Technique

Estimated time: Approximately 2-3 mins

Upside down is the most commonly used technique to clean keyboard yourself.
Steps:

1. First, you have to unplug all your wires that are connected to your computer/laptop.

2. Turn your keyboard/ laptop upside-down and then tap-tap.

3. Shake it off but be careful while doing it.

4. Do it 7-8 times and your job is done, most of the crumbs, dirt and debris will fall down.

5. Re-plug the wires and you’re ready to go!

2. Cleaning Keyboard- Blow the Air Technique

Products used: Compressed/canned air

Estimated time: approximately 30 mins

In this technique, you need to buy compressed or canned air if you don’t have it already. We recommend Compressed Air Duster, which is designed explicitly for keyboards.

Steps:

1. First of all, unplug the wires.

2. Now you are ready to blow the air.

3. Blowing the air will dislodge all the crumbs, dust particles, and debris stuck to the keyboard.

4. Thoroughly do it around every single key for about 3-5 seconds.

5. Once you are done with it, do the upside-down technique to shake off the particles that you have dislodged.

3. Cleaning Keyboard- Wipe it Away Technique

Products used: Cotton swab, Toothpick, and Isopropyl alcohol

Estimated time: Approximately 1 hour
This is a little detailed and time taking technique for cleaning keyboard yourself. Yet it is the most effective one.

Steps:

1. Firstly, unplug the keyboard.
Caution: It’s better to wrap the plug, in a plastic wrap/sheet so that it doesn’t get wet.

2. Now make a solution containing 50% water and 50% isopropyl alcohol.

3. Spray the prepared solution on the cotton swab.
You can also dampen the cotton swab into the solution.
Caution: Make sure the swab isn’t too wet otherwise there’s a possibility that the moisture could go under the keys. And it eventually became a problem for you in the long run.

4. Now take two toothpicks together and wrap the cotton swab around them.

5. Move the slightly wet cotton swab around the tiny spaces between the keycaps.

6. The toothpicks help cotton swab to reach in the smallest spaces around the keycaps.

7. Once you thoroughly clean the keycaps corners, discard that cotton swab.

8. Take another slightly wet cotton swab and rub it on the outer surface of the keyboard with help of slight pressure on your fingers.

9. Thoroughly clean all the dirt and change the cotton swab as well, if needed!

10. Are you done? Now take a dry cotton swab or a clean piece of cloth and thoroughly dry the keyboard with the help of it.

11. Leave the keyboard under a fan for 3-4 hours to completely dry out.

12. Plug it back and you’re ready to go!

4. Cleaning Keyboard- Take it Down Technique

Products used: Cotton swab, Isopropyl alcohol, and Dishwasher Liquid.

Estimated time: Approximately 2 hours
This technique enables you to do the maximum amount of deep cleaning that can be done all by yourself, at home.

Steps:

1. If you came reading this far, can you guess the first step? … Yes! Unplugging the keyboard.

2. Firstly, take a picture of that unplug keyboard. Take a zoomed view such that all the keys are clearly visible.

3. Done? Now let’s get to the real work!

4. Read your keyboard manual. And remove the keycaps as per the instructions mentioned in the manuals.

5. Now take a bowl and make a solution comprising of 70%water and 30% dish wash liquid.

6. Dip/soak the keycaps in that dish wash solution for about 50-60 minutes.

7. Till then, carefully clean the keyboard with the ‘wipe it away technique’ as mentioned above. But do it with a soft hand, no need to put your palm or finger’s pressure this time.

8. After that, go check the keycaps and start rubbing them slightly. Because of it, the dirt that once becomes stiff started to come off now.

9. Clean the keycaps thoroughly with a clean piece of cloth or a dry cotton swab.

10. Place the keyboard and the keycaps under a fan and let them dry for about a day or two.

11. Once they are fully dry, place the keycaps back with the help of that picture. Do you know? That’s where that picture in handy. Low-key we’re hoping that you haven’t deleted it yet.

12. Last but not the least, plug the keyboard and boom!!! You are all set to start using your neat and clean keyboard.

Conclusion

There are some other techniques as well like using caffeine solution to clean your keyboard, but we only encourage you to follow the most tried-and-tested techniques to clean your keyboard yourself. Because eventually the health and sustainability of your keyboard matter the most. And there should be no compromise on that.

Precisely, cleaning your keyboard yourself is no rocket science yet no joke as well!!! The only thing you need is to be very careful while doing it. Try to do it with a calm mind, especially when you’re not in hurry. Carefully unplug it. Take your time to clean the tiny particles out. Let it dry/rest properly before you plug it back in. Don’t rush; the more time you invest, the more smoothly the procedure goes. Lastly, it’s your keyboard and only you have the power to decide what kind of procedure your keyboard needs to go through, right now!

Our book, Learn Touch Typing in 12 Simple Lessons, helps you learn touch typing with QWERTY keyboard layout. Now you can acquire touch typing skills with little efforts and time. 

0.00 avg. rating (0% score) - 0 votes
0 0 votes
Article Rating
Subscribe
Notify of
guest
0 Comments
Inline Feedbacks
View all comments